
A Better Place to Work
As I’m spending more and more time working from my desk again after a few months of a break, I’ve become painfully (literally) aware of the ergonomic issues associated with my workspace. My monitors were a great purchase in 2015 that have served us well, but one of their major downsides is a lack of a height adjustable stand.
So I meandered out to the shop a few weeks ago intending on grabbing pretty much whatever board was lying around and haphazardly attaching it to a few shorter boards with deck screws so I could put my monitors up on a stand. It’d be a 15 minute project, and I’d be back at work…
…It all started in the winter of 2018. My regular perusing of local classifieds and Craigslist ads yielded a bona fide boon. Some lovely elderly couple was giving away an entire cedar deck, for FREE! It had only been sitting outside their Oregon home getting rained on and painted and beaten to death by all manner of natural occurrences for 25 years. How could I be so lucky?! After all, I had a shop now, and within that shop I had copious amounts of space to store such treasures. The answer to my wife’s question? Ha! What wouldn’t I do with all that free wood?
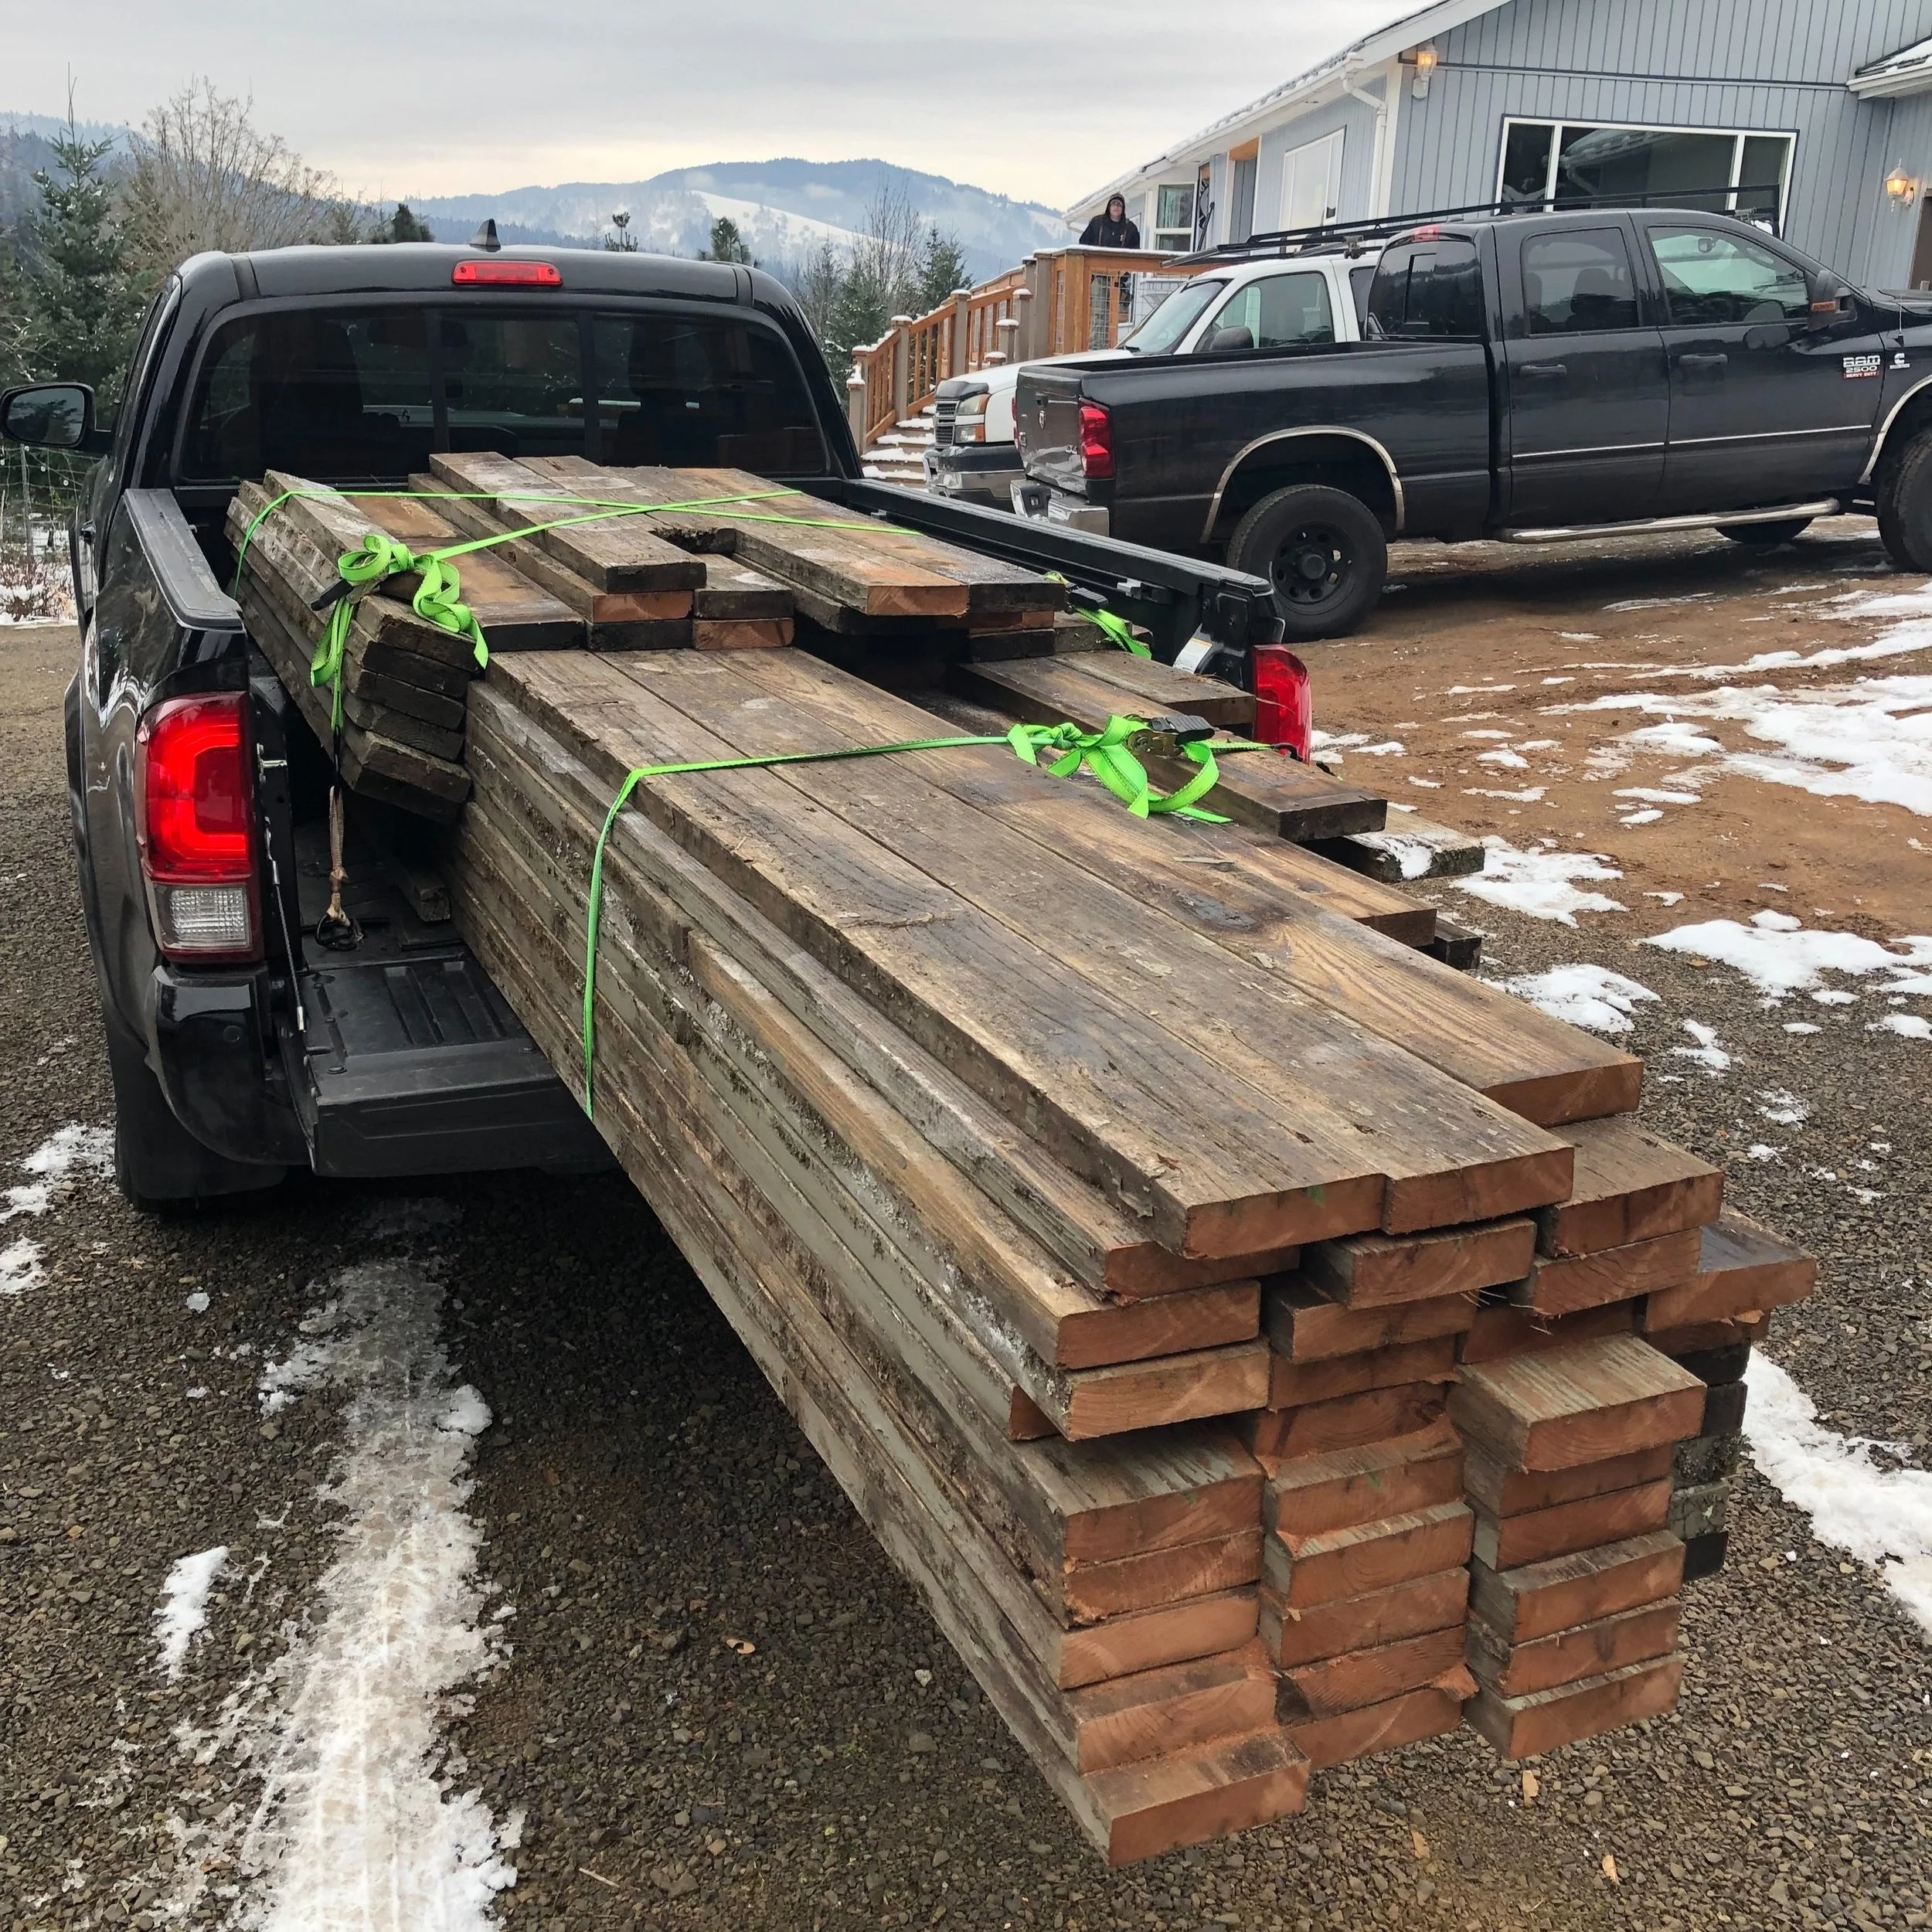
FREE Wood!
Four years and ten months later, after only moving and stacking and stickering the pile three times, I began my project.

Pile 1 of 3 this size
While the boards were flat enough to avoid face jointing and go straight into the planer, the edges were pretty rough. My jointer is currently incapacitated by a combination of dull knives and fear, and my shop was blisteringly cold, so I decided to see if I could work up a sweat and make the old Stanley No 8 earn its keep.
I clamped the would-be adjoining boards together with the mating edges both facing up so I wouldn’t have to be concerned about small deviations in my plane iron angle leaving the edge slightly off 90º. I started swiping the plane end to end until it produced one long, curly shaving. Man, now I see what Paul Sellers was talking about. No noisy dust collector running, no mask required, just man and steel and wood and, shit. It’s a total banana.

Ready for edge jointing
After kicking some snow and muttering on the way into the house, I took to YouTube to try to figure out what I’d done wrong.
Lo and behold, Wood by Wright had the exact explanation for and solution to my little problem. Apparently, if you start planing with your board oriented convex up (think frowny-face), the planer will be able ride up and down the slope and you will continue to remove material and maintain the convex shape. If you orient it concave up (smiles!), the plane will do it’s job riding over the low spots and removing the highs.
In this case, I needed to be able to joint frowns, so I took a straight edge and drew a line from corner to corner showing me what a straight/flat surface would look like. Then I simply took more strokes in the middle section and worked my way out until I reached my line all the way across and got back to my one smooth continuous shaving.
Thrilled with my newly honed ability, I decided to build a whole desktop rather than just a stand for the monitors. Repeat the above process about nine times, and now I had panels ready for glue-up and a pile of cedar shavings large enough for a hamster Taj Mahal.

Starting to take shape
I glued up the panels with minimal drama and scraped the glue squeeze out off before it was fully cured so it was a bit easier. Then, I figured it hadn’t gotten out of hand enough so I decided to attach the monitor stand to the top with some hand cut dovetails.
I took a class on dovetails at the Port Townsend School of Woodworking (www.ptwoodschool.org) back in June, and I hadn’t so much as held a handsaw since so I was itching to give it another try.
I’ll spare you the details of explaining how this was accomplished (other than stating I used a Katz-Moses dovetail jig and recommend you check him out), but I will include a few observations that I made along the way.
“Rustic” reclaimed softwoods, while free, and sometimes beautiful, may not be the most forgiving woods for delicate hand tool work. I would strongly advise anyone trying this kind of work for the first time to go get some poplar and enjoy how easy it is to work with.
My hand tools, despite me having watched lots of YouTube videos, are not nearly as sharp as those that can be found within the shop at a professional woodworking school.
It’s not cheating if you remove as much of the waste as possible on your bandsaw as long as you pop a chisel into your knife line at the very end.

Finishing tails after a trip to the band saw.

Pin layout
Finally, I sanded everything down and gave it 4 coats of wipe-on poly because that’s what I had lying around the house. The whole thing was then screwed down to the sit/stand desk frame I bought a few years ago.
If you’re interested in ergonomic desk setups, my main goal here was to get the top of my monitors about level with my eyes while I’m sitting up straight and looking ahead. I found myself slouching a lot if I had the table low enough that using the keyboard was comfortable. I find under mount keyboard trays to be an obnoxious wobbly way to bang your knees.
Things I still have to do:
Cable management
Get a nice desk mat to rest my wrists on and use as a mousepad.
Maybe make the monitors “float” via cheap wall mounts that tie into yet another piece of cedar attached vertically to the back.
Some trays/drawers/organizers for my clutter
Maybe a small file cabinet to get some drawer space.
What would I do differently next time?
I’d like to try infilling the knots and cracks with black epoxy. I enjoy the way they look, but it doesn’t lend itself to a working surface you touch all day long.
Maybe a hard wax oil finish instead of poly? Again, this doesn’t feel great on my hands.
If you like the proportions and want to build something similar for yourself, first of all they all happened by accident based on the wood I had around, but here are some key dimensions.
One of the things I love about woodworking is that I don’t always have to choose the most efficient or optimal design. It’s okay to take a break from that side of my brain and let things happen.
Desktop: 66 1/2” wide x 26” deep, 1 1/4” thick.
Monitor stand: 9 1/4” deep, 5 3/4” above the desktop, 3/4” thick
Seated height: 29 1/4”
Standing height: 42 1/2” (I’m 6’ tall)

Ready for work!

Not too shabby.